
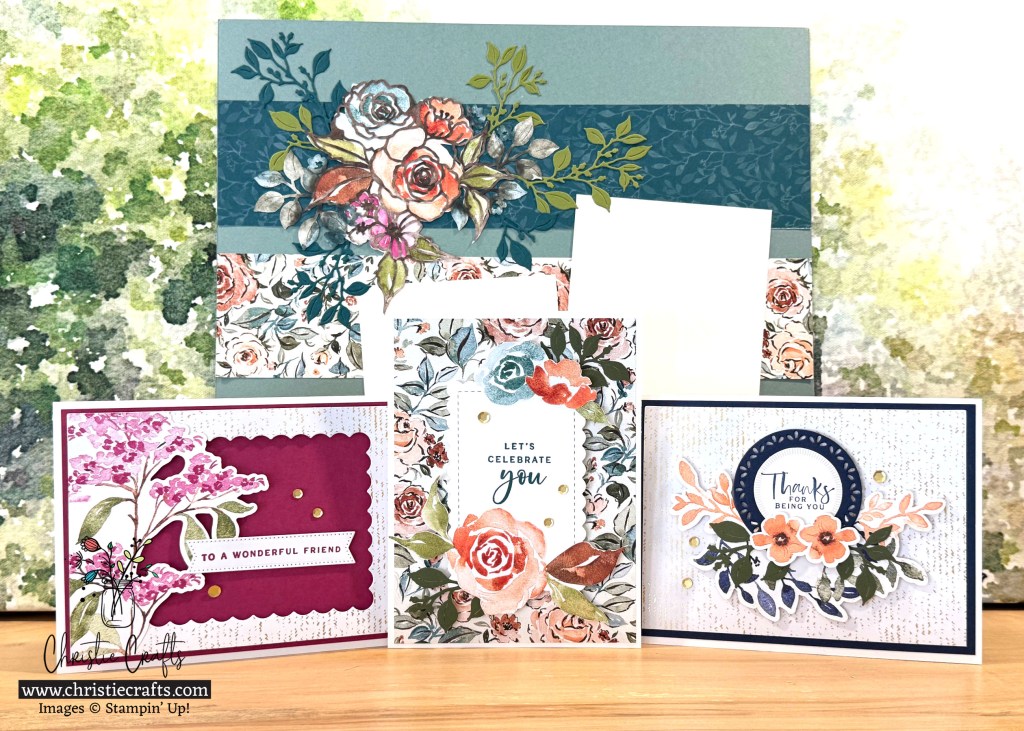
The June Paper Pumpkin Kit from Stampin’ Up! truly lives up to its name—Full of Charm. This month’s kit is a beautiful blend of soft watercolor florals and delicate gold accents that give each card a warm, elegant feel. It includes everything you need to create nine full-sized cards—three each of three unique designs pictured below—all beautifully coordinated with matching envelopes. The card bases feature watercolor-style prints in cozy tones like Berry Burst, Timid Tiger, Night of Navy, and Pretty Peacock. They’re layered with precut die-cut pieces, sequin embellishments, and sweet little details that make each one feel extra special.
What I love most about this kit is how effortlessly everything comes together. Each card design has a thoughtfully layered look that feels handmade and heartfelt without being overly complicated. Whether you’re a seasoned crafter or just getting started, these projects offer a satisfying creative experience that results in cards you’ll be proud to send. Be sure to check out my tutorial video below to see how quick and easily the kit cards come together step by step.


If you missed out on the Full of Charm kit, there’s good news—you can still grab the refill (while supplies last) as long as you’re a current Paper Pumpkin subscriber. It includes all the card bases, die cuts, envelopes, and embellishments so you can create beautiful cards with stamps and inks you already have on hand. It’s the perfect way to extend the life of your kit and keep the creativity flowing.
Want to subscribe or check out what’s coming next? Sign up below and make sure you never miss a box of happy mail again. This kit really is full of charm—and I can’t wait to see what surprises next month brings!
Full of Charm Card Variations
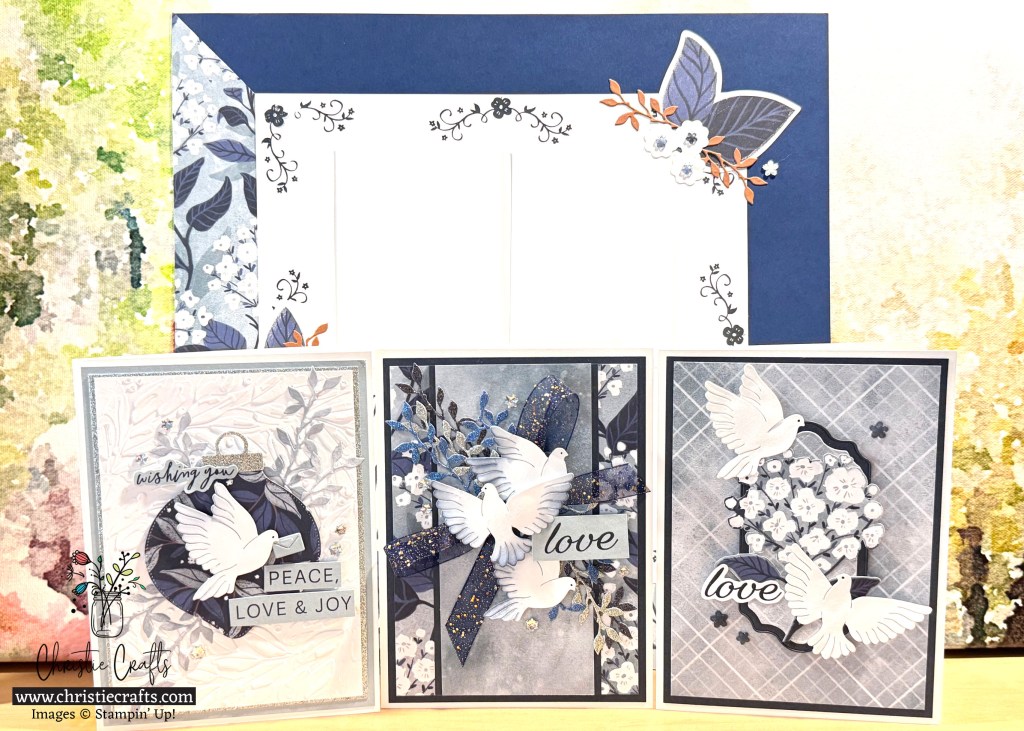
In addition to the three original card designs, I created a few variations using the Full of Charm Paper Pumpkin kit and the Charming Day Bundle and the coordinating Floral Charm Designer Series Paper. The soft colors and classic motifs in the DSP were designed to pair perfectly with the Paper Pumpkin kit pieces, offering even more creative possibilities, whether you want to add extra layers, change up the sentiments, or completely reimagine the layout. I had so much fun stretching the supplies and ended up creating several bonus cards and even a scrapbook page that carry the same sweet, heartfelt vibe—just with a personal twist.
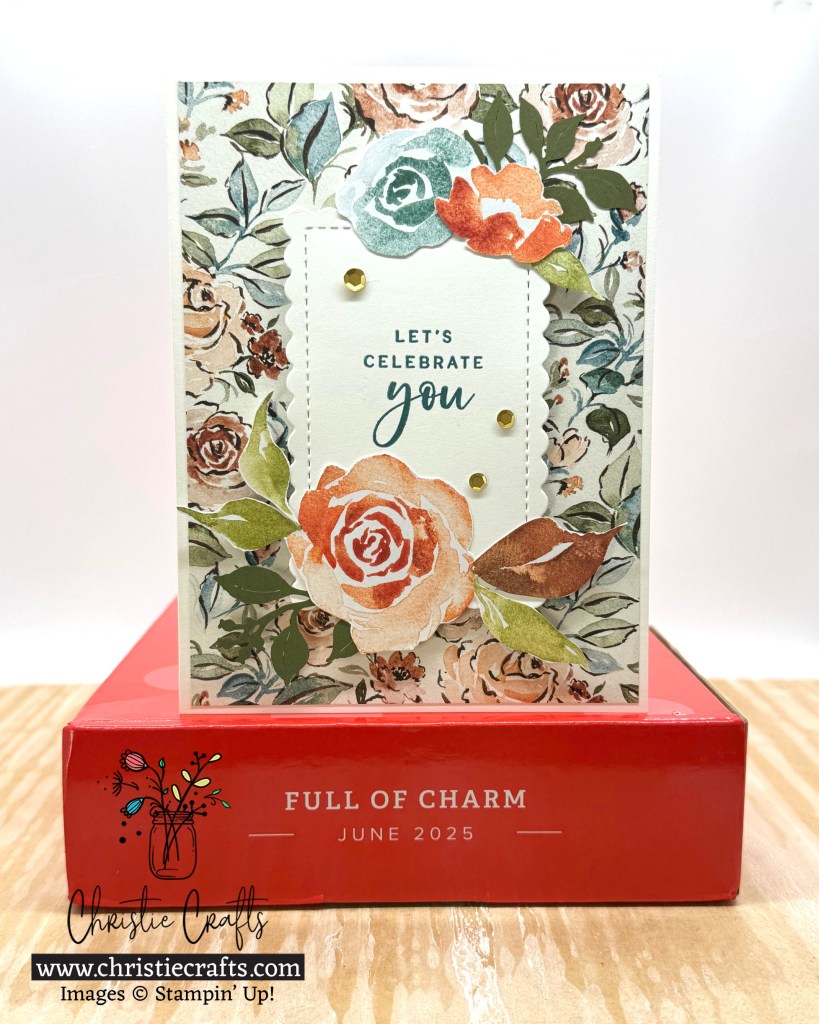
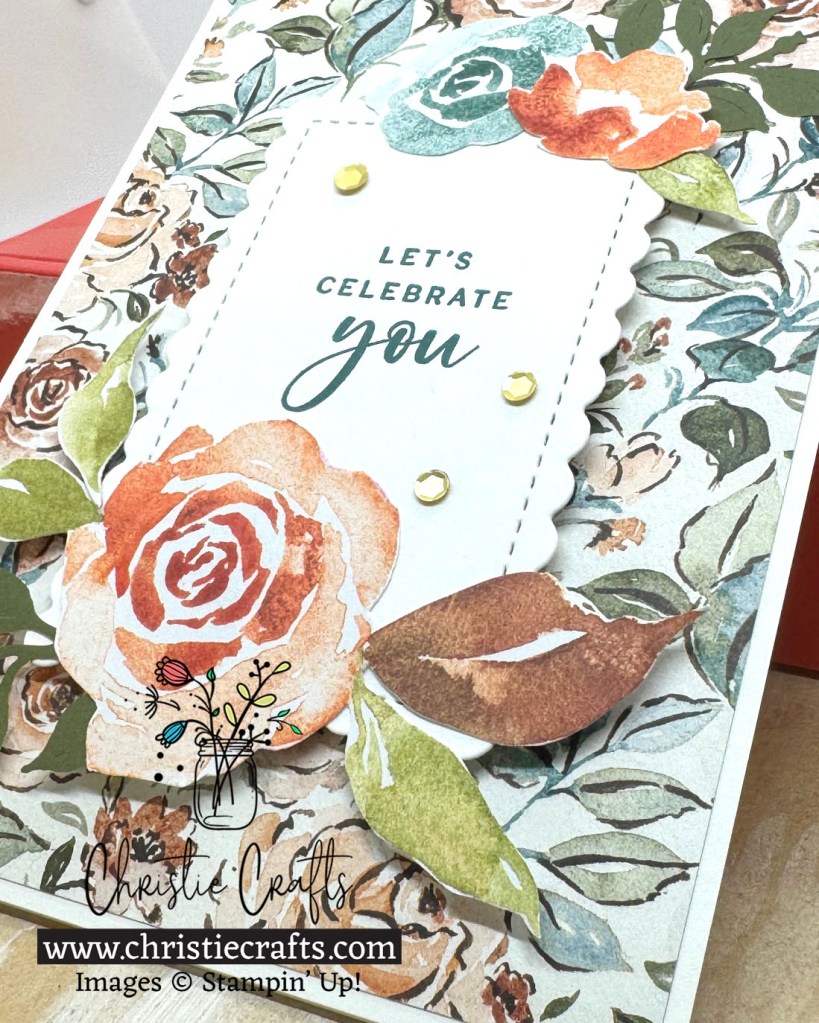
Tutorial: This elegant floral card starts with a white card base and a piece of the Floral Charm DSP. I layered a scalloped contour label stamped with “Let’s Celebrate You,” with dimensionals then added watercolor-style florals that were fussy cut from one of the card fronts from the Full of Charm Paper Pumpkin Kit. A few gold sequin embellishments add the perfect touch of sparkle.
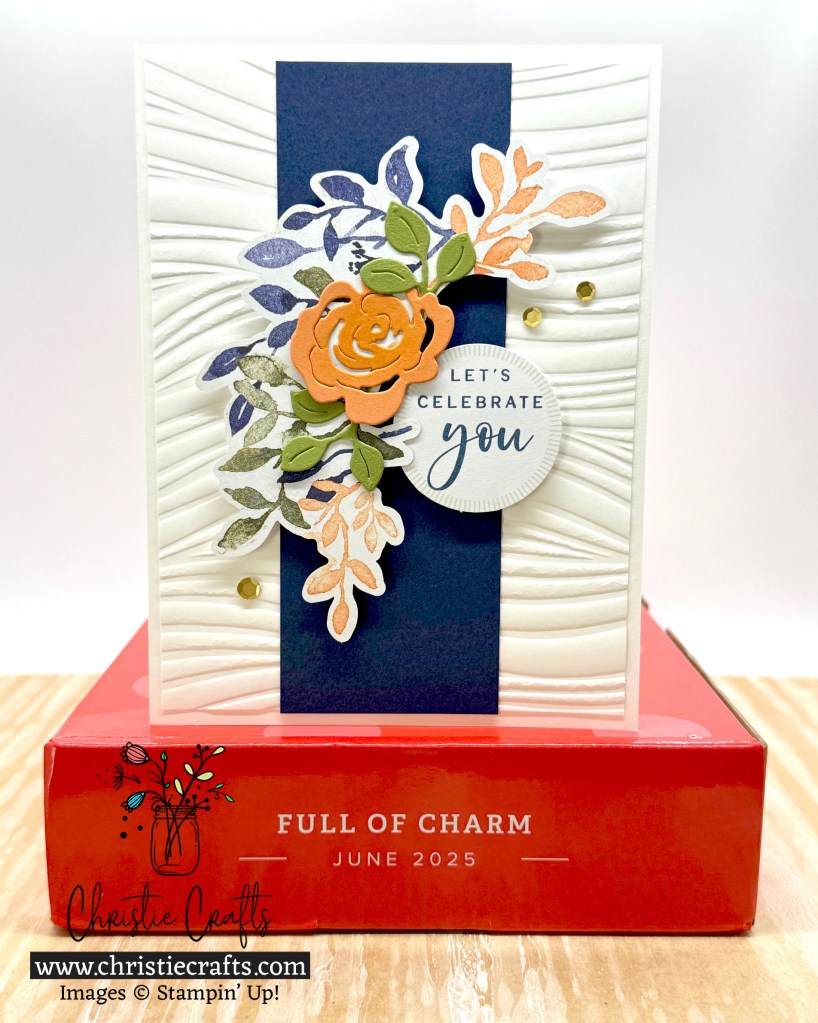
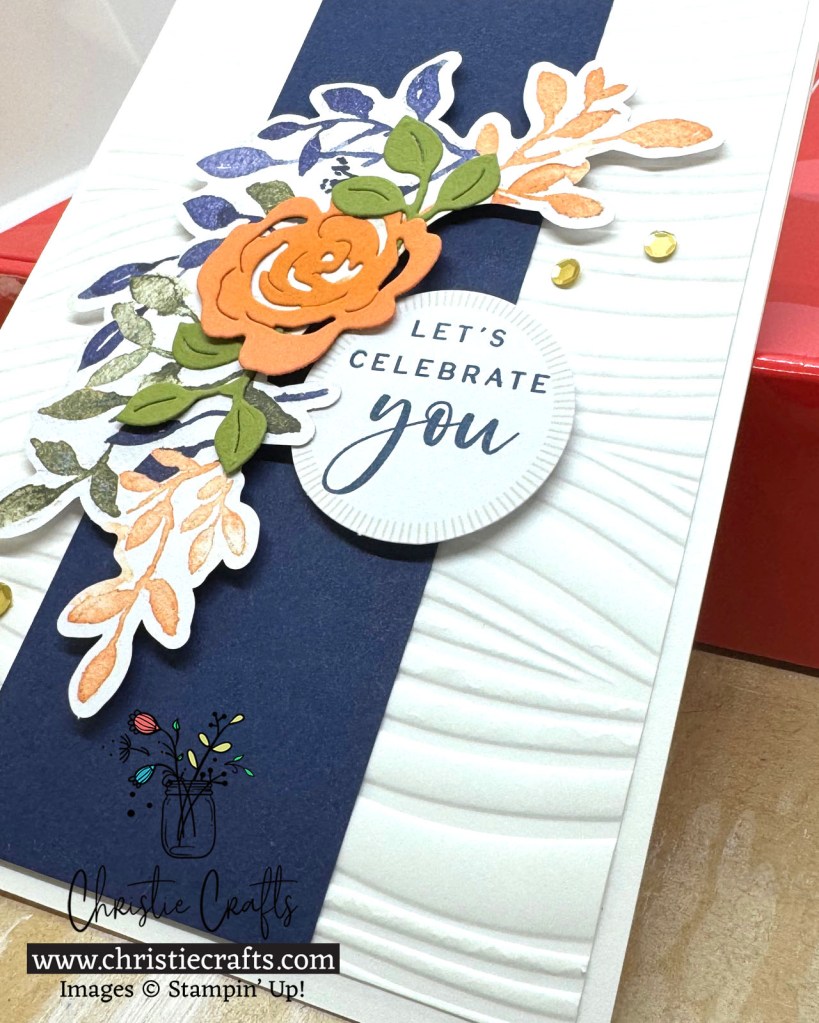
Tutorial: This bold and elegant card starts with a white card base layered with a piece of white cardstock embossed with the Soft Waves 3D Embossing Folder for added texture. A strip of Night of Navy cardstock anchors the design, and the sentiment “Let’s Celebrate You” is stamped on a circle label from the Full of Charm Paper Pumpkin kit. The floral elements are a mix of die-cut pieces from the Charming Day bundle and die cuts from the Full of Charm kit, arranged around the sentiment. A few gold sequins add just the right amount of sparkle.
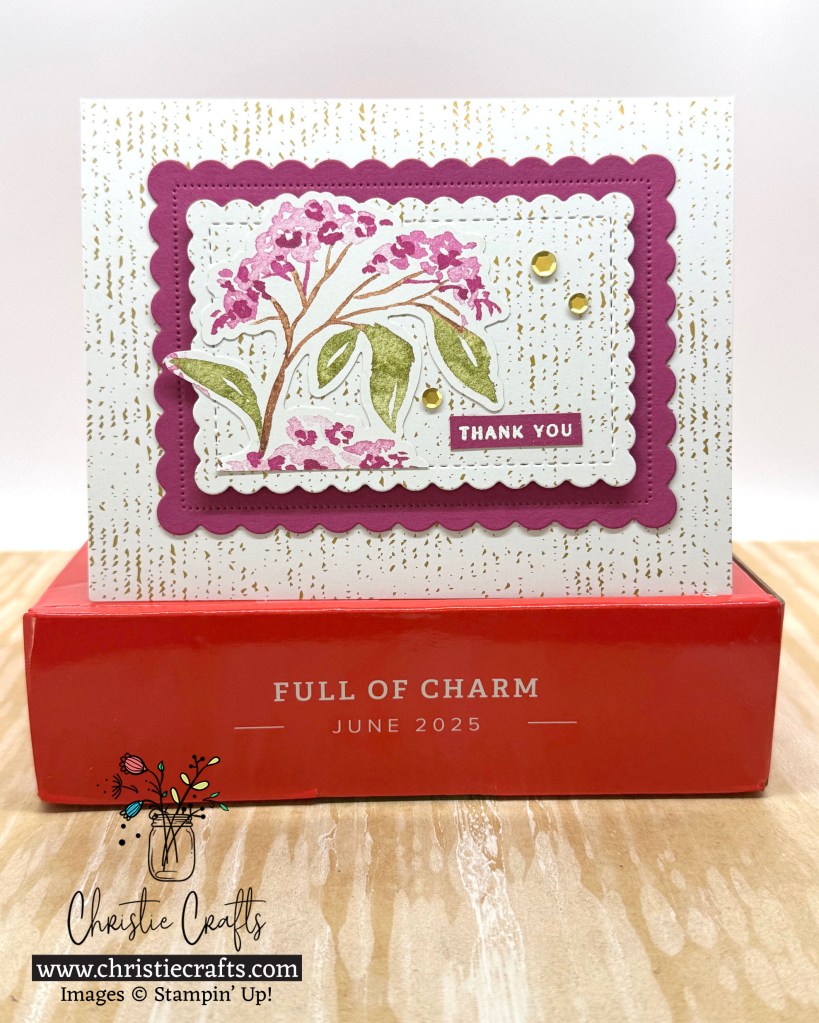

Tutorial: This soft and cheerful thank-you card starts with a gold-textured base from the Full of Charm Paper Pumpkin kit. I added two contoured scalloped rectangles—one in Berry Burst and one in the same gold-textured cardstock as the base—then centered the bottom piece of the lovely floral die cut from the kit. The “Thank You” sentiment is heat-embossed in white on a strip of Berry Burst, and I finished the design with a few gold sequins for a touch of sparkle.
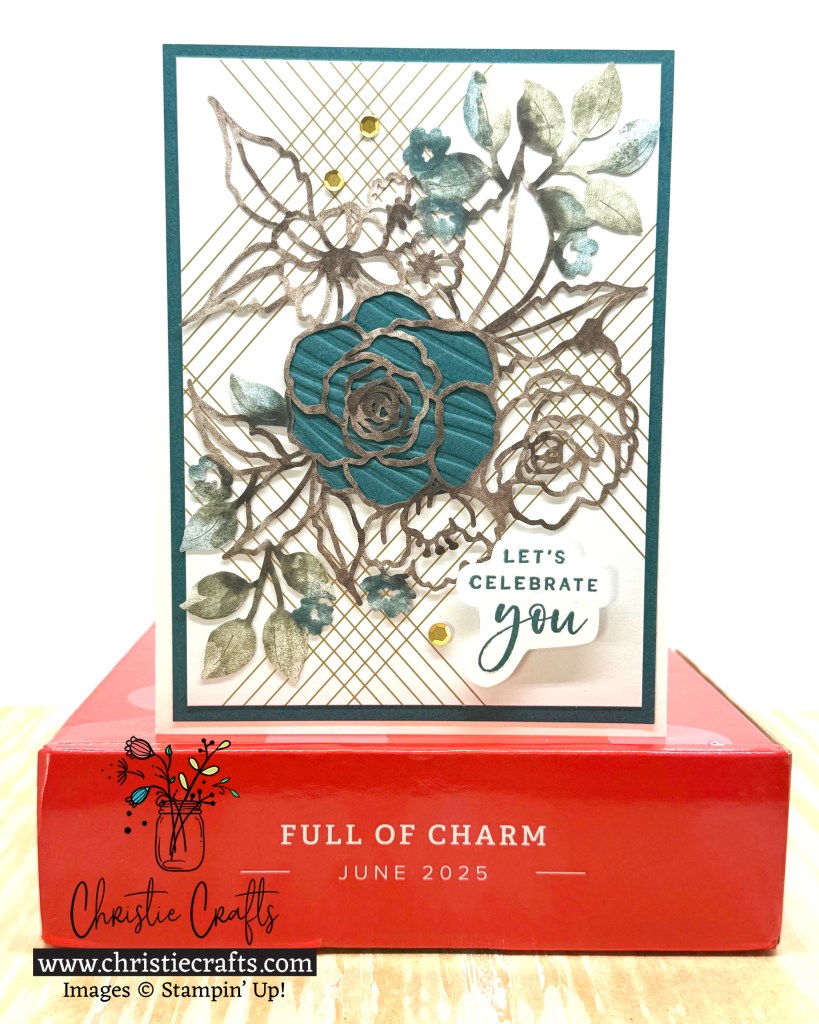

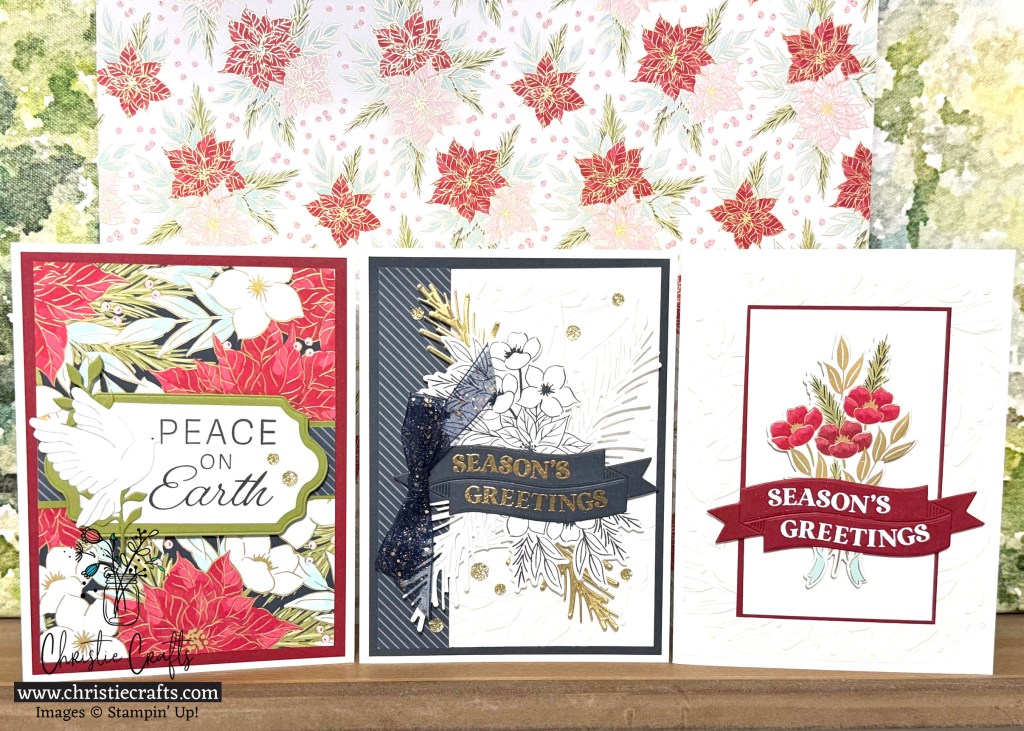
Tutorial: This striking floral card starts with a white card base layered with a gold-accented card front from the Full of Charm Paper Pumpkin kit and a piece of Pretty Peacock cardstock. The intricate floral overlay, also from the Full of Charm kit, adds bold texture and depth. I backed the largest flower with Pretty Peacock cardstock embossed with the Soft Waves 3D Embossing Folder to make it stand out. The “Let’s Celebrate You” sentiment is stamped, fussy cut, and popped up with dimensionals. A few scattered sequins add the final touch of sparkle!
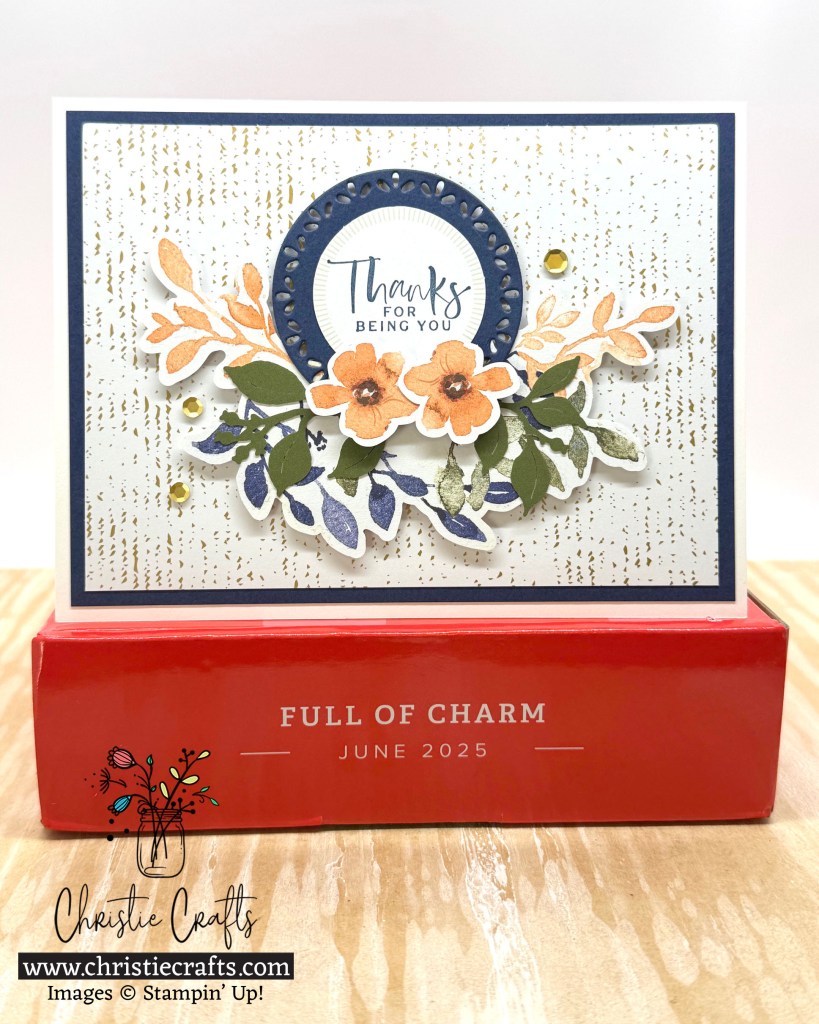
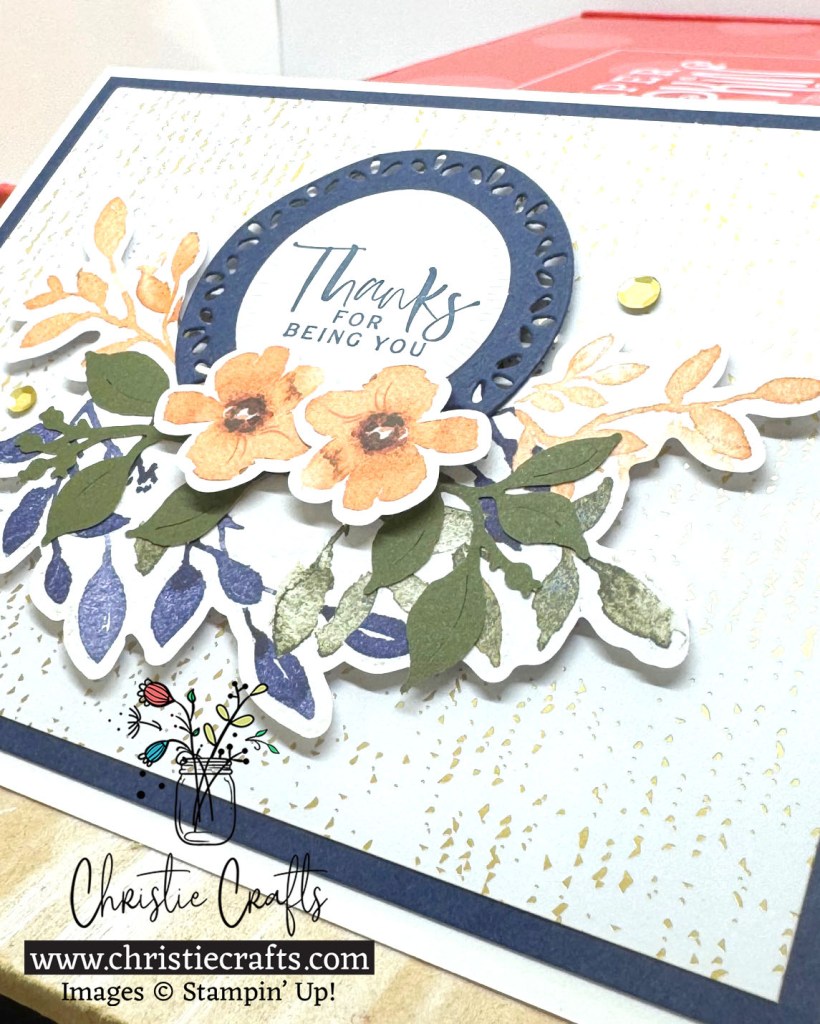
Tutorial: This cheerful thank-you card starts with a white card base layered with Night of Navy cardstock and a gold textured background from the Full of Charm Paper Pumpkin kit. The sentiment “Thanks for Being You” from the Charming Day bundle is stamped on a white circle and framed with a Night of Navy die-cut using the amazing Spotlight on Nature Dies. I arranged the floral and leaf die cuts from the Paper Pumpkin kit around the sentiment and added a few gold sequins for just the right touch of shine.


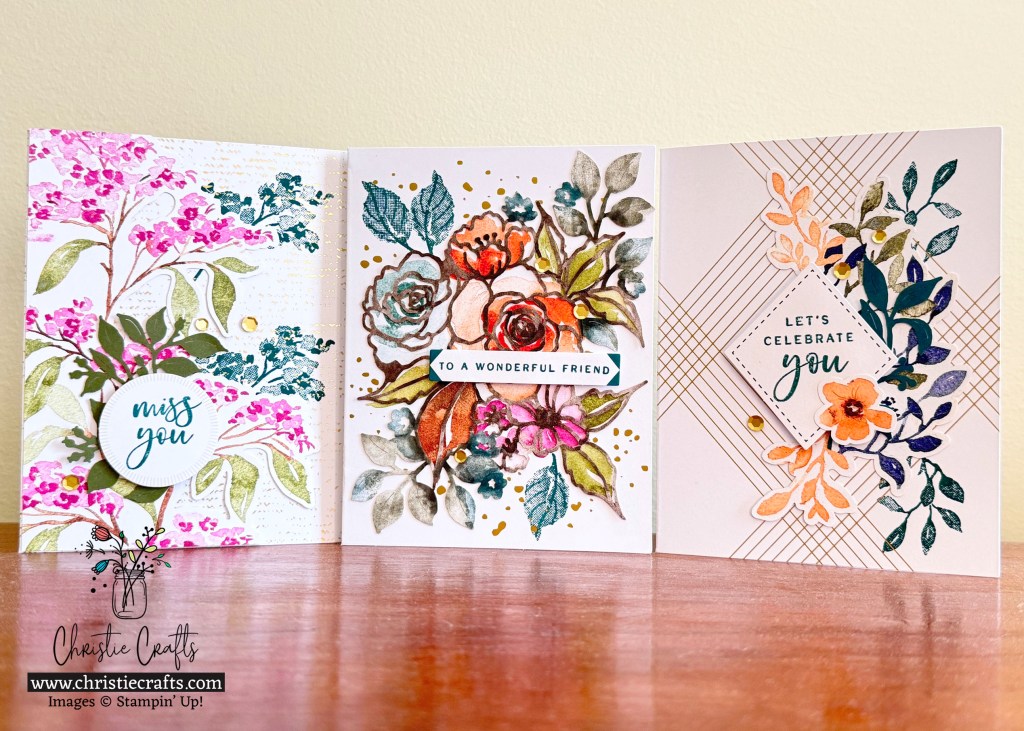
Tutorial: This sweet and elegant card starts with a white card base layered with Berry Burst cardstock and a gold-textured card front from the Full of Charm Paper Pumpkin kit. I used a scalloped contour die to create a framed window effect, letting the bold background color shine through. The top piece of the floral die cut from the Full of Charm kit adds a beautiful pop of pink and green. I stamped the sentiment “To a Wonderful Friend” in Berry Burst and die-cut it with a banner die from the Stylish Shapes Dies. A few gold sequins scattered across the card add just the right touch of sparkle.
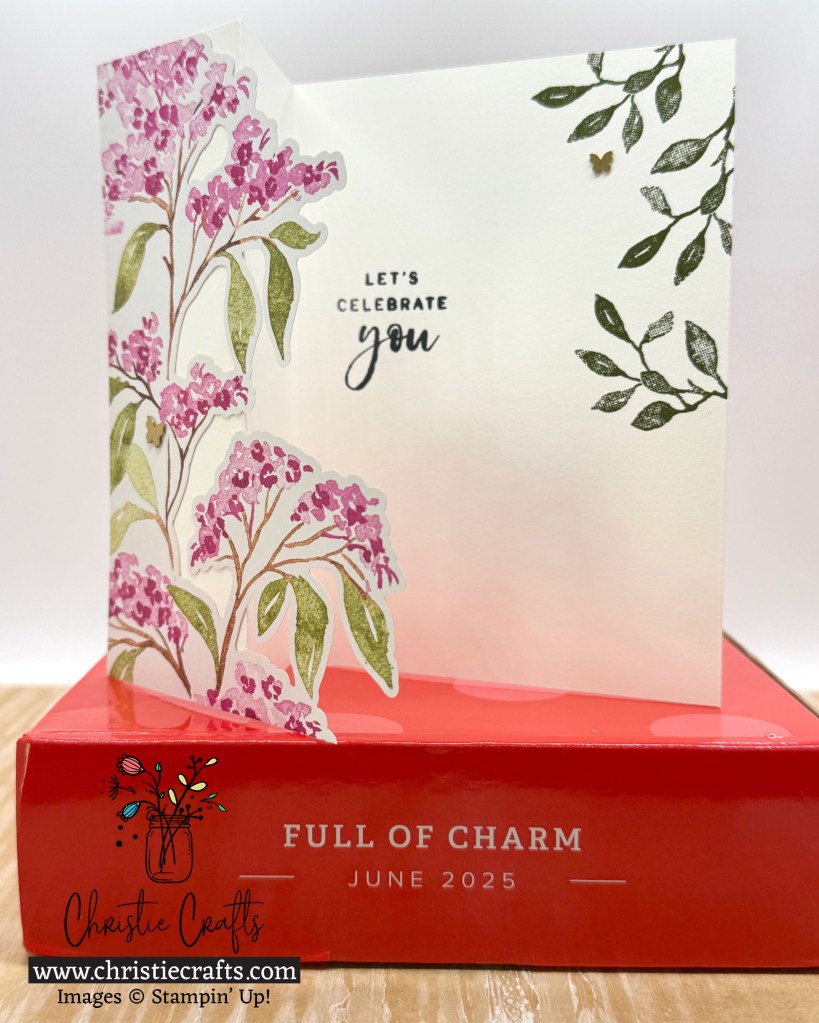
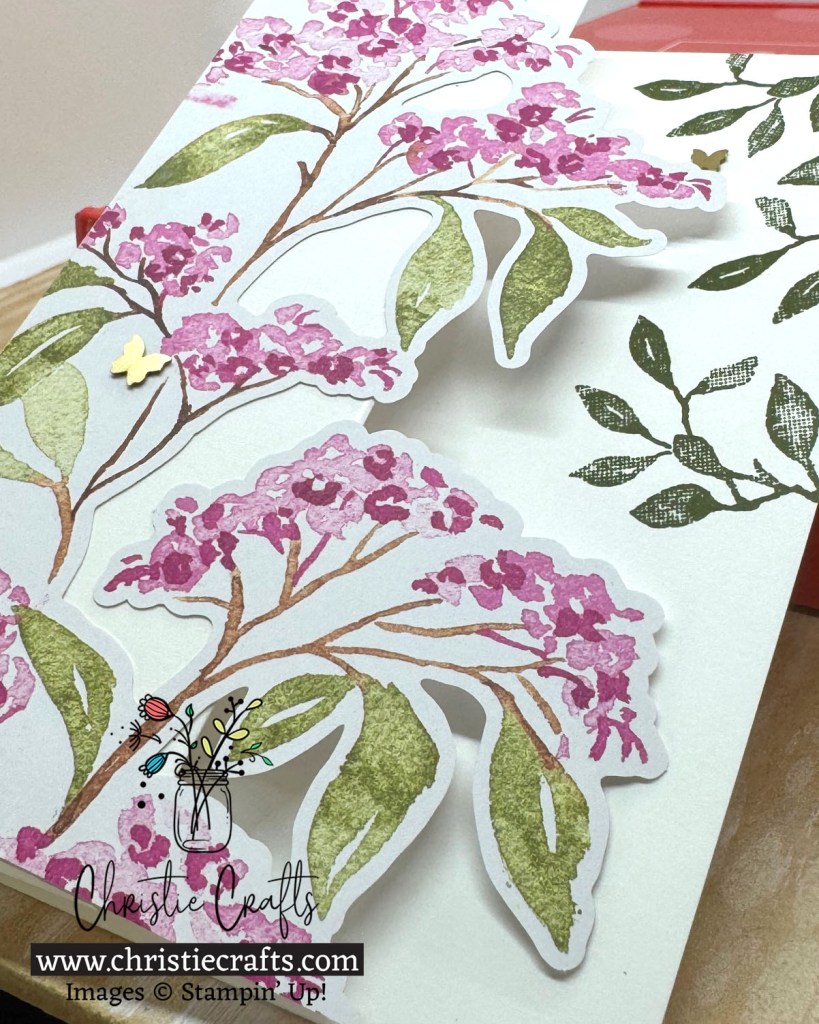
Tutorial: This simple yet stunning Z-fold card starts with a white card base, scored and folded to create a fun interactive layout. I decorated the front flap with a tall floral die cut from the Full of Charm Paper Pumpkin kit, letting the blooms extend beautifully over the edge. Inside, the sentiment “Let’s Celebrate You” is stamped in black, surrounded by stamped greenery for a soft, elegant touch. Tiny Brushed Brass Butterflies Embellishments adds a sweet finishing detail.
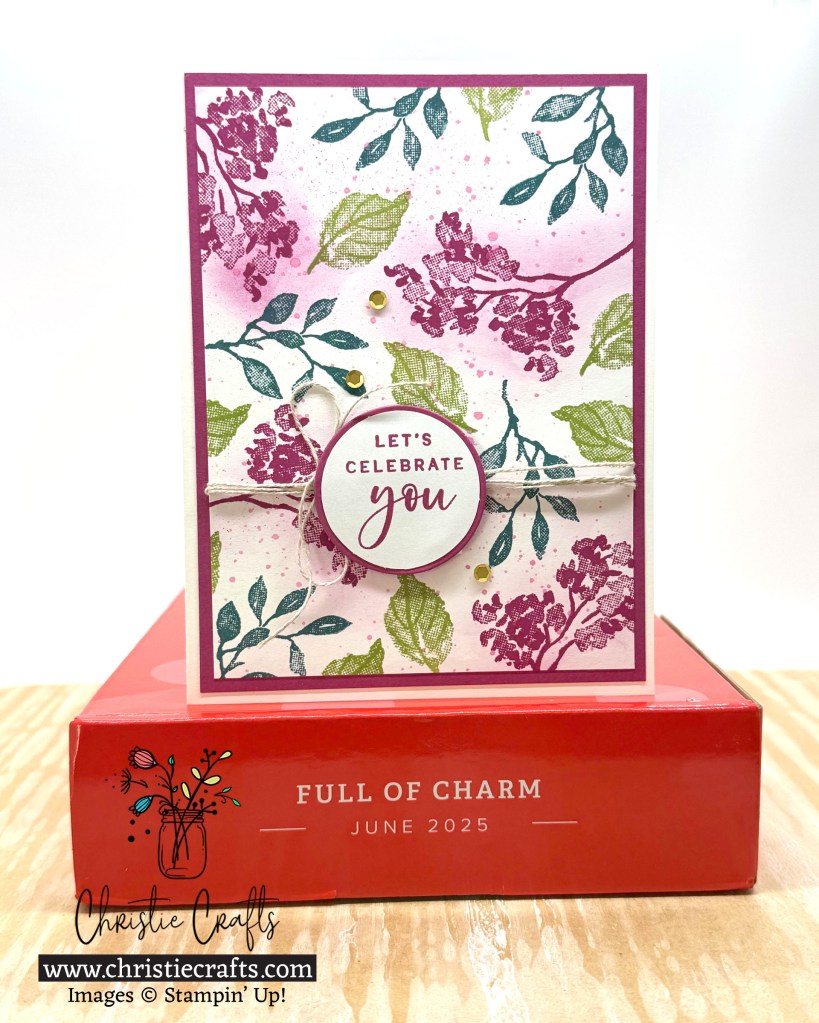

Tutorial: For this bright and playful card, I used the stamps from the Full of Charm Paper Pumpkin kit to create my own custom designer paper. I stamped floral and leaf images in Berry Burst, Pretty Peacock, and Old Olive, then added a few ink splatters and ink blending for extra texture. The stamped panel is layered on Berry Burst cardstock, and I wrapped it with Linen Thread for a bit of natural texture. The “Let’s Celebrate You” sentiment is stamped and layered on a coordinating circle, then popped up with dimensionals. A few gold sequins finish it off with a cheerful sparkle!
Full of Charm Scrapbook Page
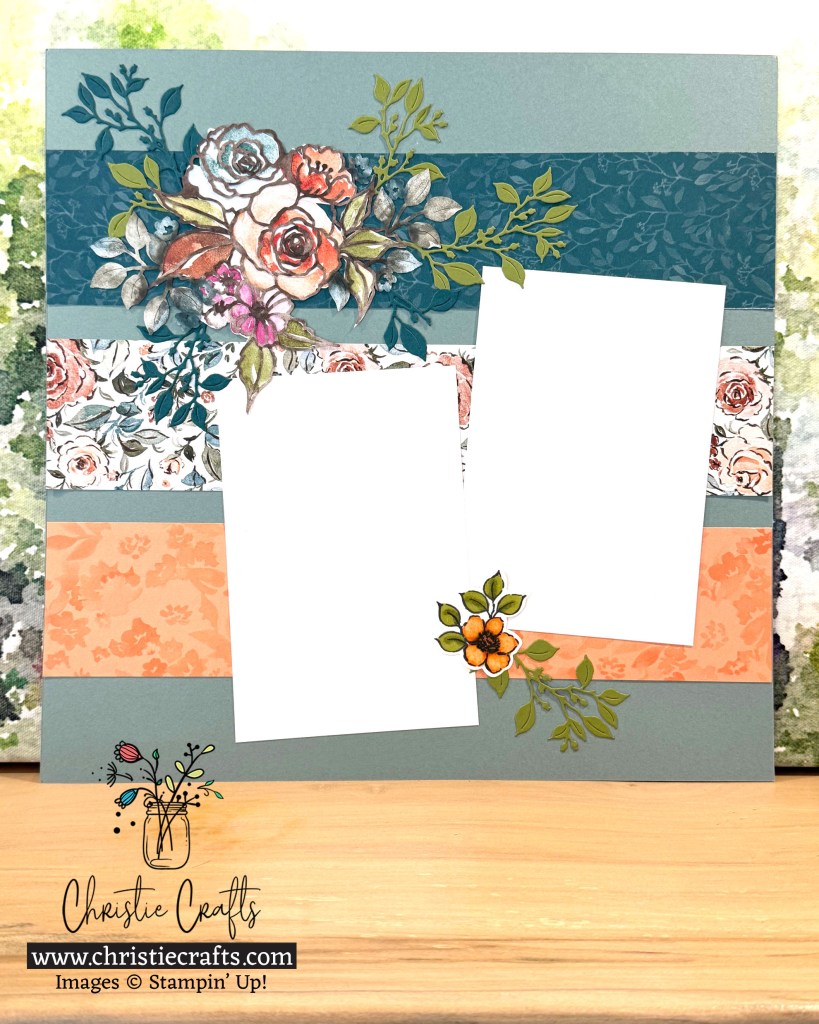

Tutorial: This floral scrapbook page features layered strips of the Floral Charm Designer Series Paper for a soft, elegant backdrop. I started with a Smoky Slate 12″ x 12″ base and built horizontal bands of patterned paper across the page. At the top, I created a floral cluster using fussy-cut blooms and the die-cut overlay from the Full of Charm Paper Pumpkin kit, accented with die-cut leaves from the Charming Day bundle. Two photo mats anchor the layout, and I added a smaller floral cluster in the bottom right corner to draw the eye through the design.
Thanks so much for stopping by! If you have any questions about these projects or paper crafting in general, I’d love to help—just leave a comment below or shoot me an email at christie.king@gmail.com. And if you end up making something inspired by this post, I’d be thrilled to see it!
Don’t forget to SUBSCRIBE to my weekly newsletter for more crafty inspiration, project ideas, and updates delivered straight to your inbox. Until next time—happy crafting, friends!
Do you love paper crafting as much as I do? Whether you’re knee-deep in cardstock every weekend or just getting started, joining Stampin’ Up! as a Demonstrator might be the best next step. I joined for the discount—and stayed for the friendships, inspiration, and fun! ❤
Join Us!
Once you join, you’ll get at least a 20% discount on all of your Stampin’ Up! purchases, invitations to Demonstrator only events, and the ability to place orders from upcoming catalogs and promotions in advance!
We welcome all types of Demonstrators from those only join to get the discount for themselves to those who want to run a business! We’re a relaxed group that loves to create with no pressure to sell!
There is absolutely never any obligation or penalty if you decide being a Demonstrator isn’t for you—so why not give it a try? We have fun Facebook groups where we chat, share creative ideas, and support one another. Plus, we host virtual gatherings, training sessions, and even offer occasional giveaways just for our team. It’s a welcoming space full of inspiration and encouragement!
Email me christie.king@gmail.com if you have any questions. You can also see more information about the benefits of becoming a Stampin’ Up! Demonstrator HERE.


Leave a comment