

It’s beginning to look a lot like Christmas in the craft room!
I just wrapped up my first holiday projects of the season, and they all feature the stunning Bauble Blooms Bundle from Stampin’ Up! This set is perfect for adding a personal, handcrafted touch to your Christmas creations. With its elegant ornament shape and two-step floral stamps, it’s easy to create festive cards, scrapbook layouts, gift tags, and keepsake ornaments.
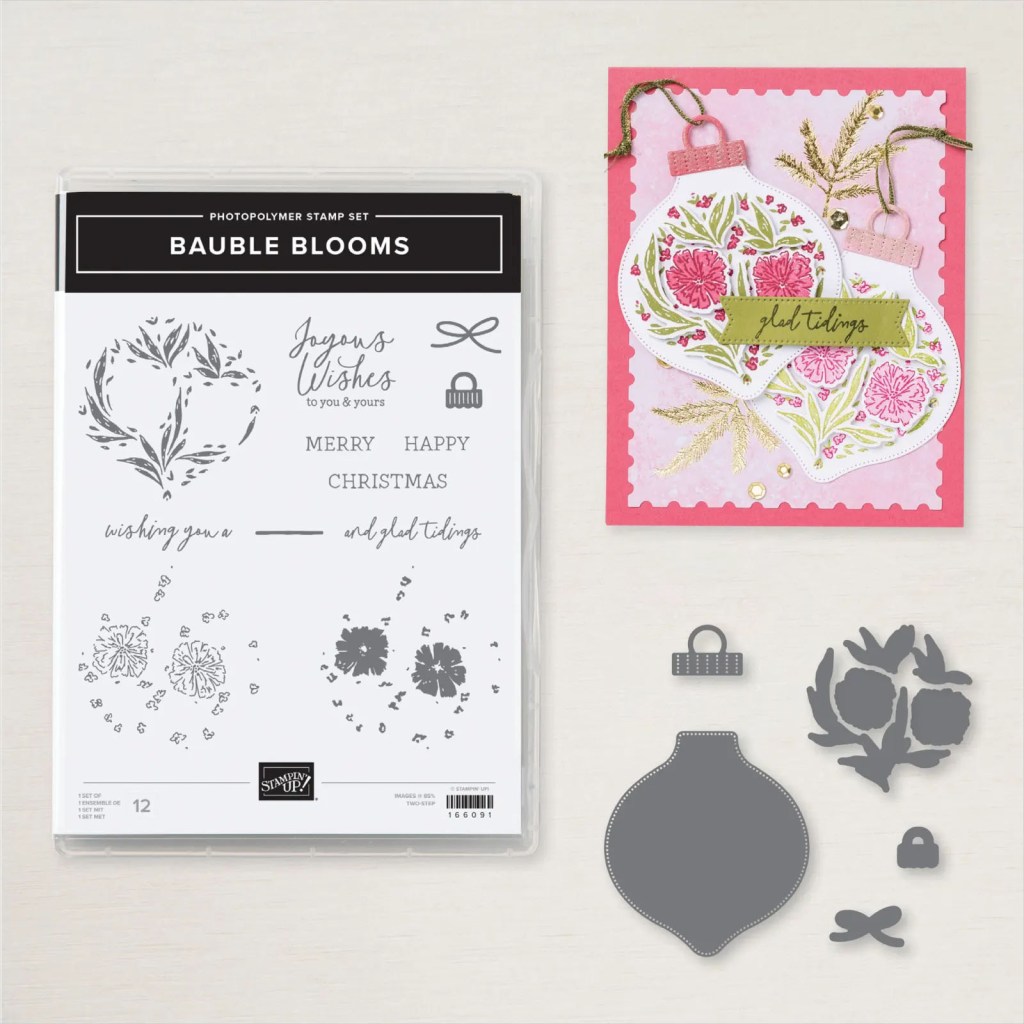
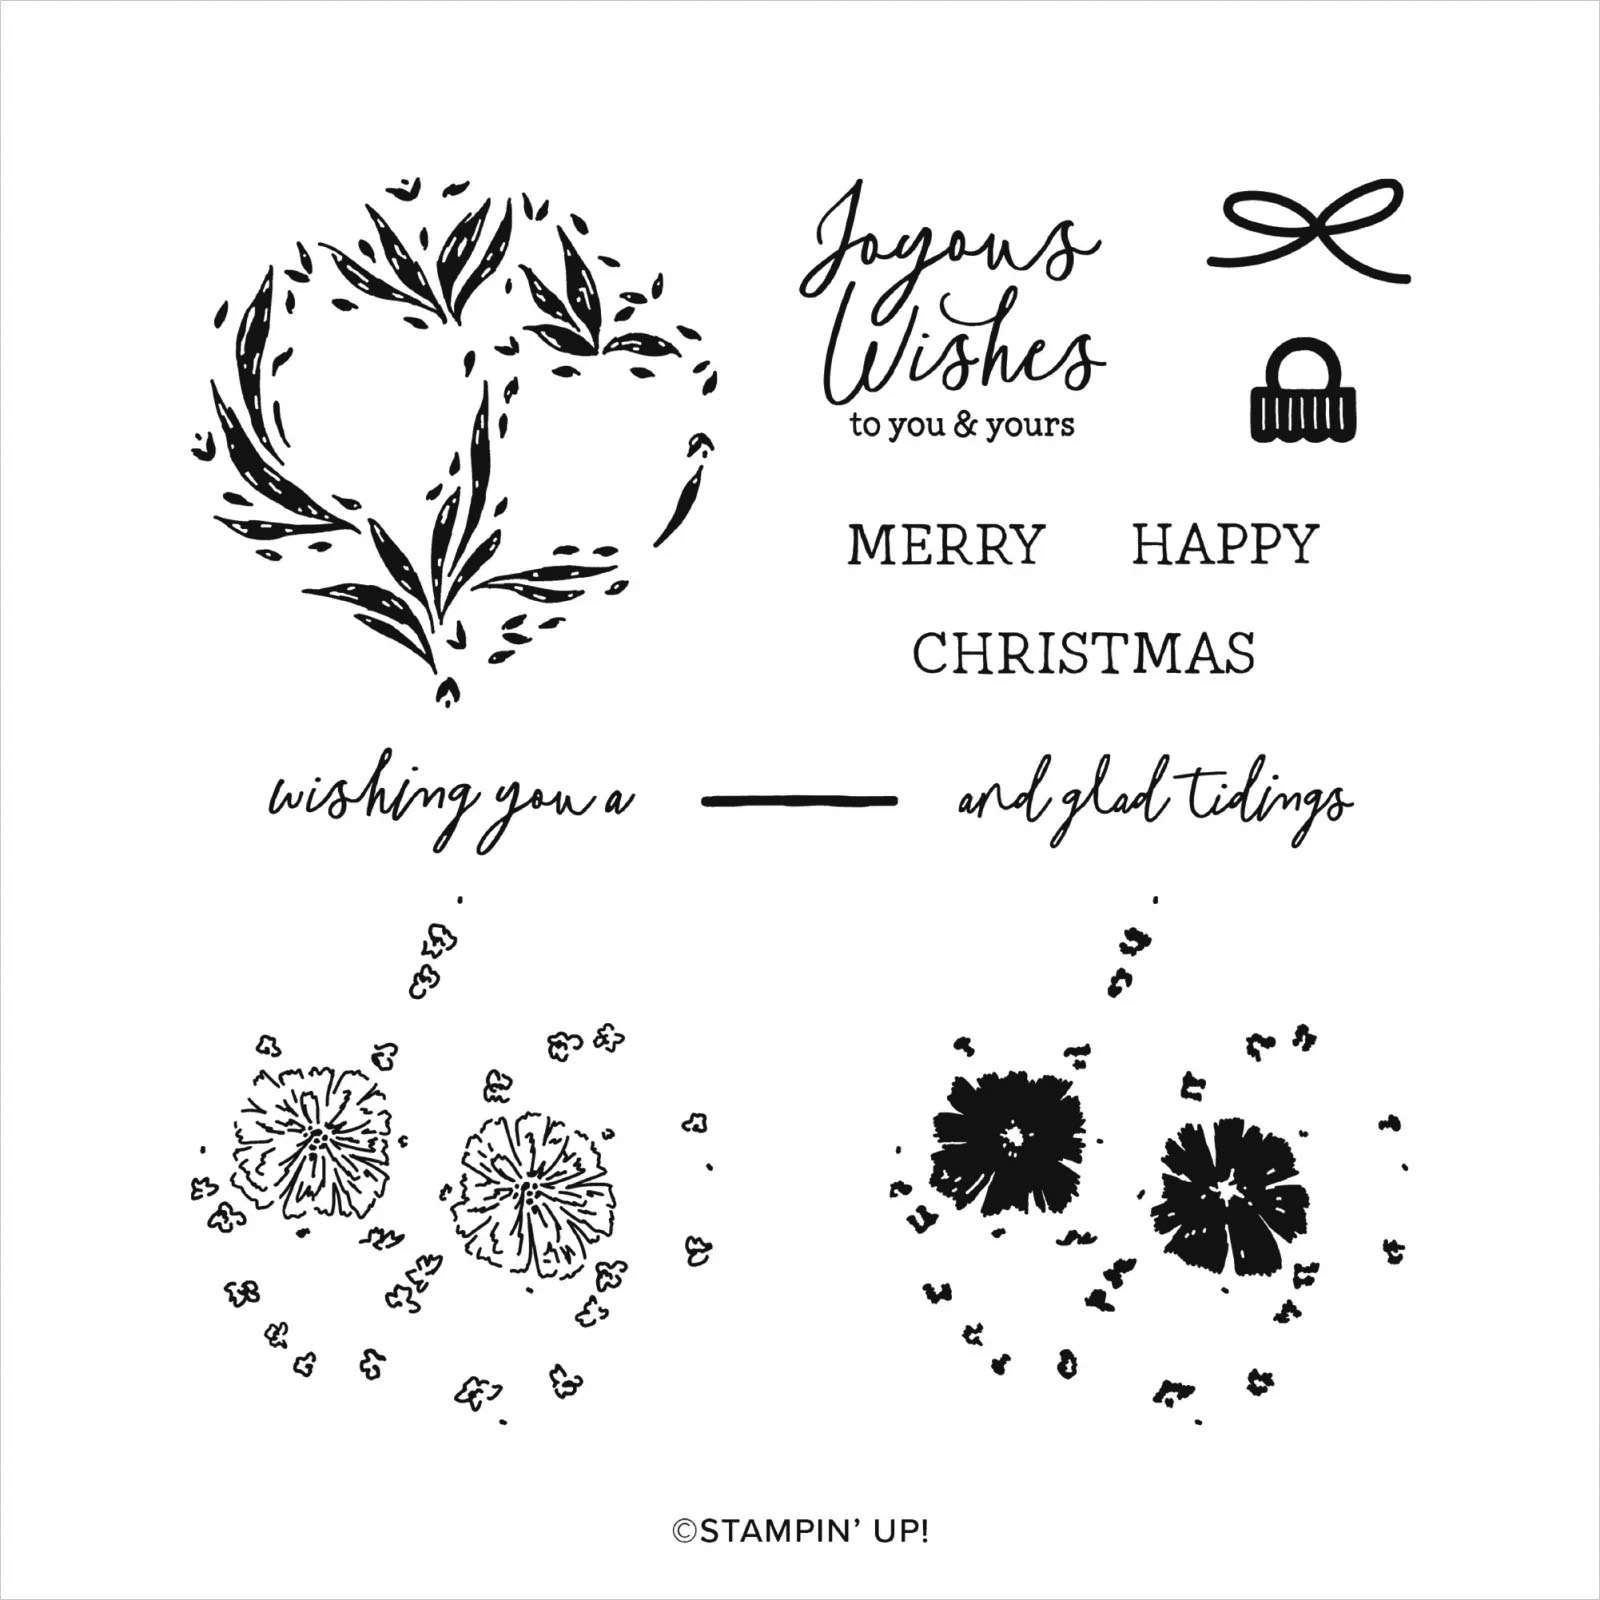

The bundle includes the Bauble Blooms Photopolymer Stamp Set and coordinating Bauble Blooms Dies, making it simple to achieve a polished look without a lot of fuss. Whether you prefer traditional holiday colors or something a little more modern, this bundle shines in any palette. I had so much fun exploring the creative possibilities and can’t wait to show you what I made!
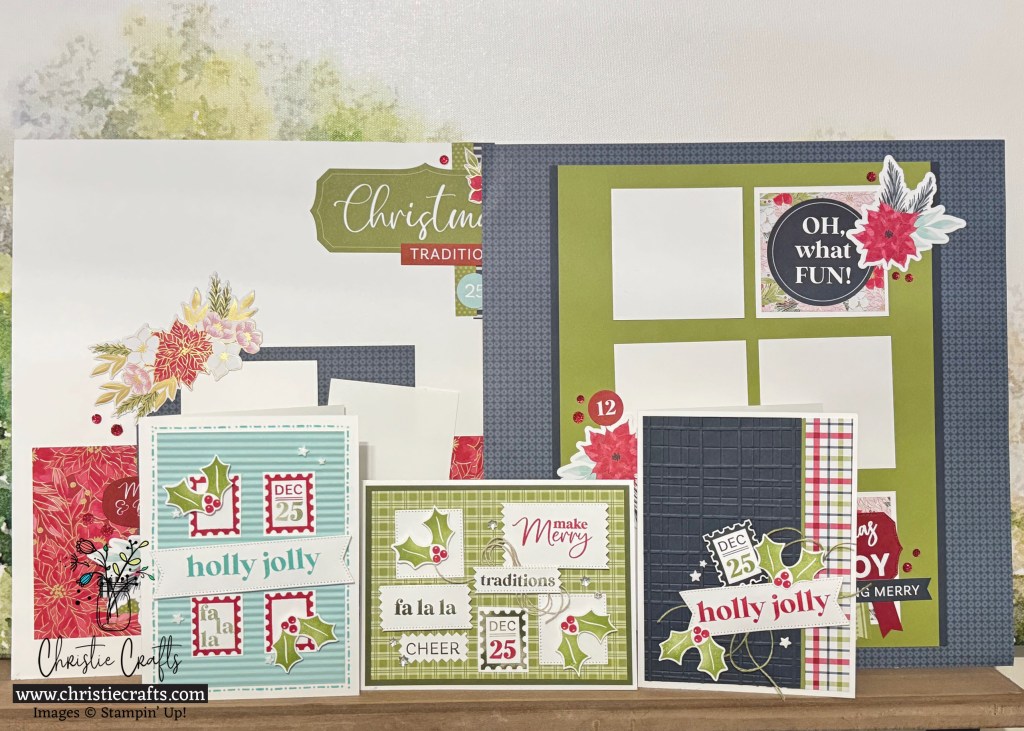
Below you’ll find festive holiday cards, a scrapbook page ready for this year’s family photos, and—my favorite project—a handmade ornament. I even filmed a quick video short so you can see how easy it is to create the ornament from start to finish. It’s perfect for gifting or adding a special touch to your tree!
If you’re looking to get a head start on holiday crafting, the Bauble Blooms Bundle is a must-have. It’s user-friendly, incredibly versatile, and adds a festive flair to every project. Scroll down to see each project in detail—and let me know which one is your favorite!
Bauble Blooms Ornament
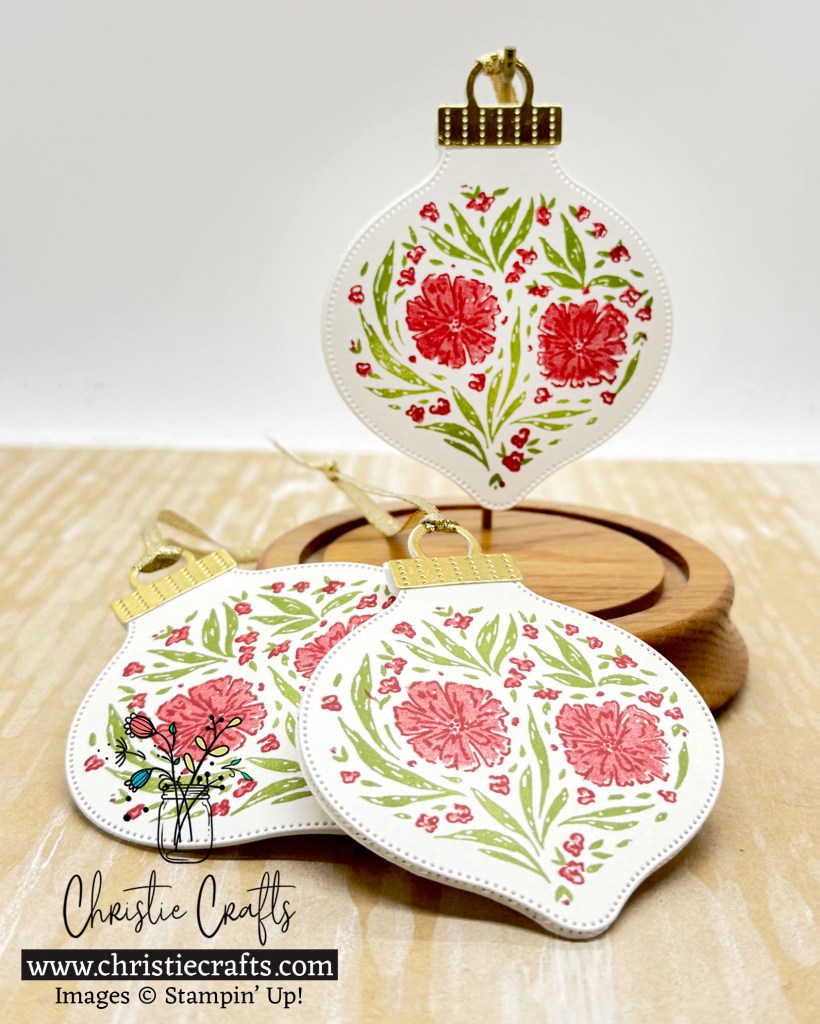

Tutorial: This handmade ornament might just be my favorite project from the Bauble Blooms Bundle! I used the large die to create a classic bulb shape, then stamped the floral layers in Poppy Parade ink and Old Olive ink for a festive look. A Gold Foil Sheet cap and a simple Gold Trim Ribbon tie finished it off beautifully. These ornaments are quick to make and perfect for gifting, decorating, or even using as a gift tag.

Bauble Blooms Christmas Cards
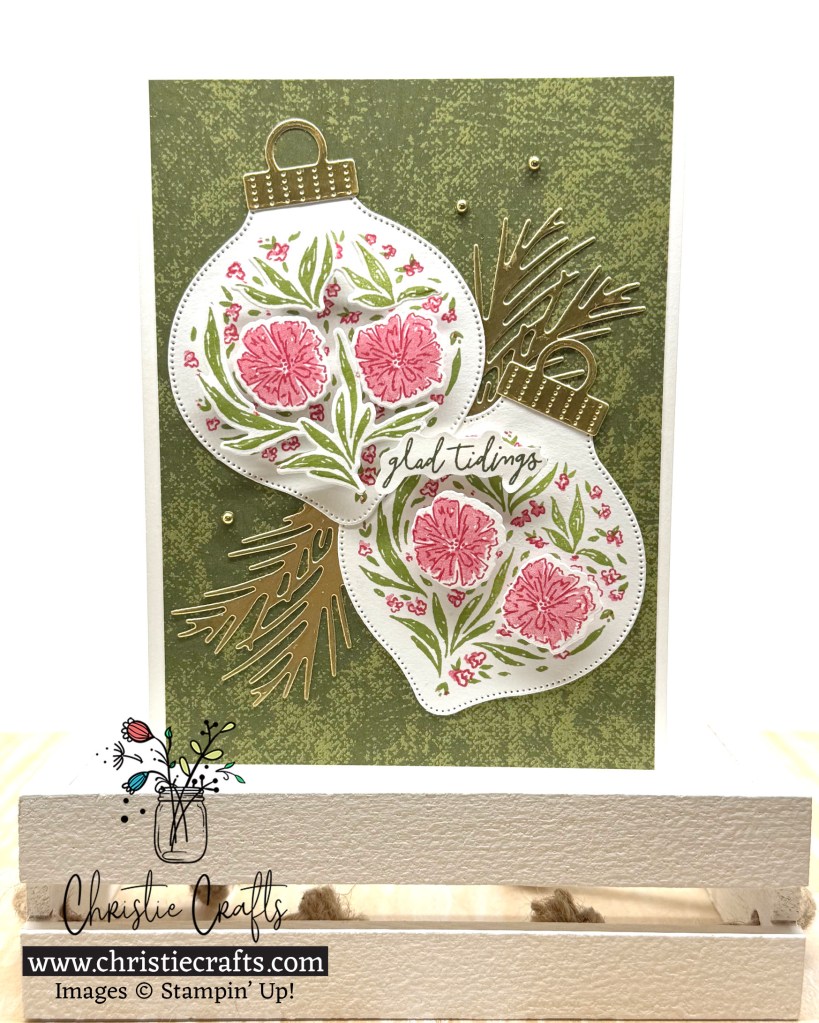

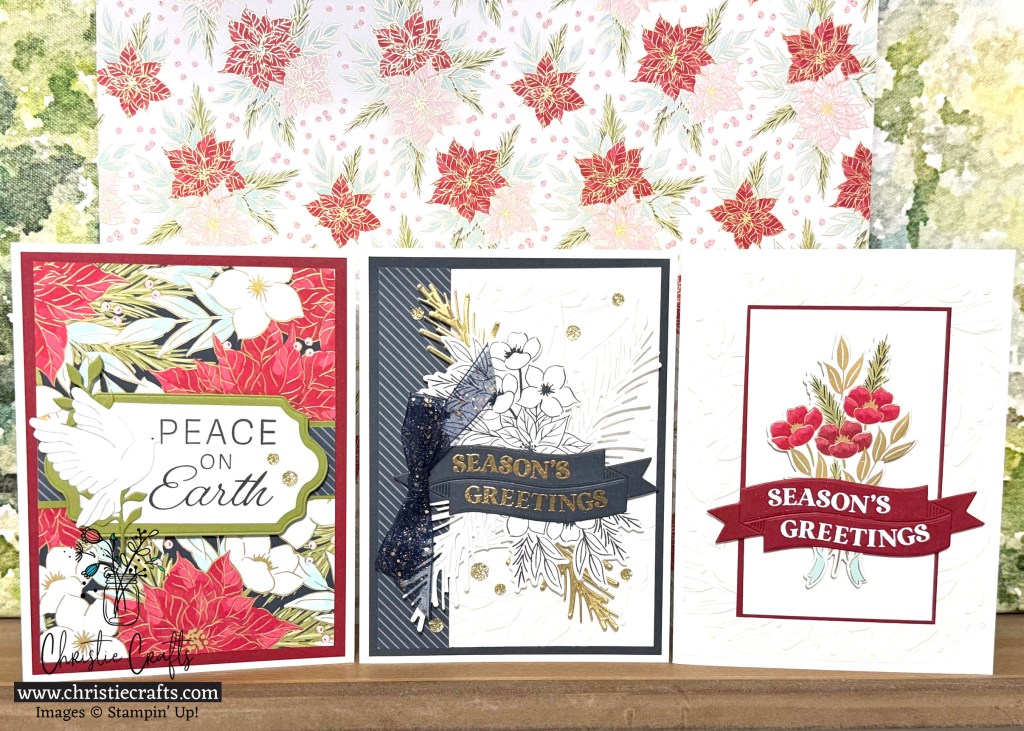
Glad Tidings Card Tutorial: This festive card features two beautifully stamped ornaments layered over a textured green background. I stamped the floral designs in Poppy Parade ink and Old Olive ink, then added extra dimension by die-cutting and popping up the large blooms and foliage with Stampin’ Dimensionals. Gold Foil pine branches tucked behind add shimmer and help frame the layout, while the handwritten-style “glad tidings” sentiment from the stamp set finishes the card with warmth. A few gold embellishments add the final festive sparkle.
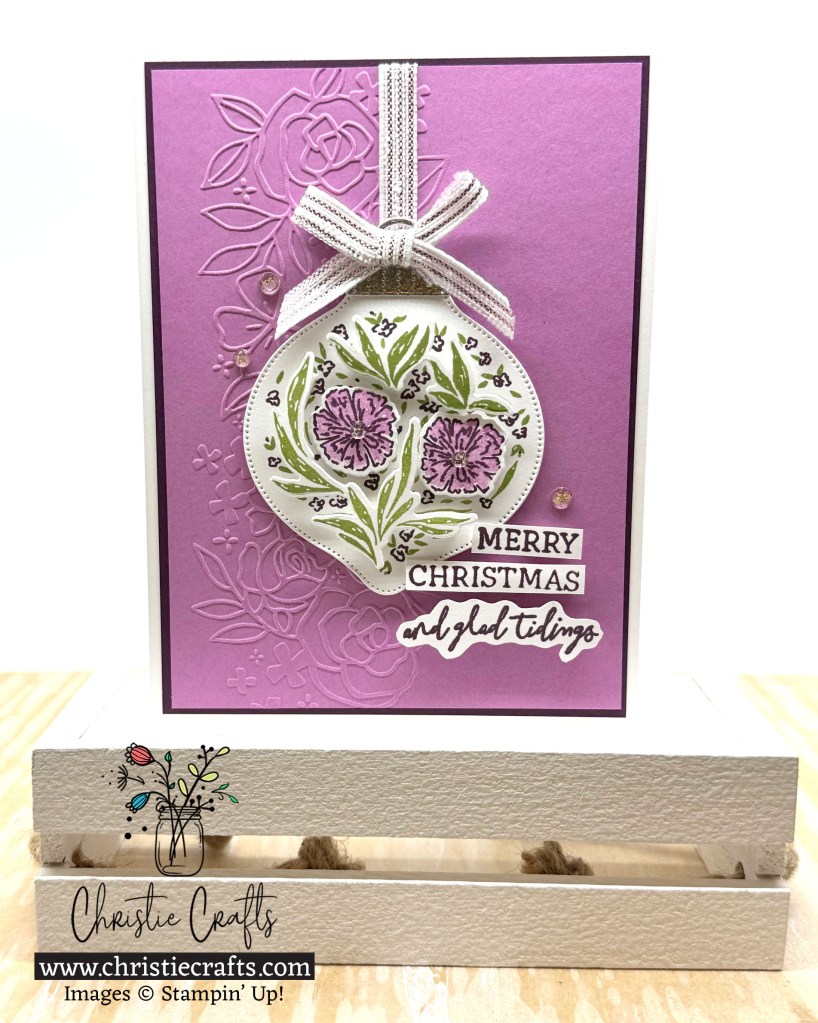

Petunia Pop & Silver Card Tutorial: This elegant card puts a fresh spin on Christmas with a bold pop of Petunia Pop and delicate floral ornament details. I started with a Petunia Pop background embossed with the Glass & Gardens Embossing Folder and matted it with Blackberry Bliss. The ornament was stamped in Petunia Pop ink, Blackberry Bliss ink, and Old Olive ink, then layered with die-cut flowers and leaves popped up with Dimensionals. A Silver Trim ribbon bow tops the Silver Foil ornament cap, and a mix-and-match sentiment from the stamp set—“Merry Christmas and glad tidings”—adds a modern twist. Strawberry Slush and Pretty in Pink Gems bring extra bling for a bright, non-traditional holiday look.
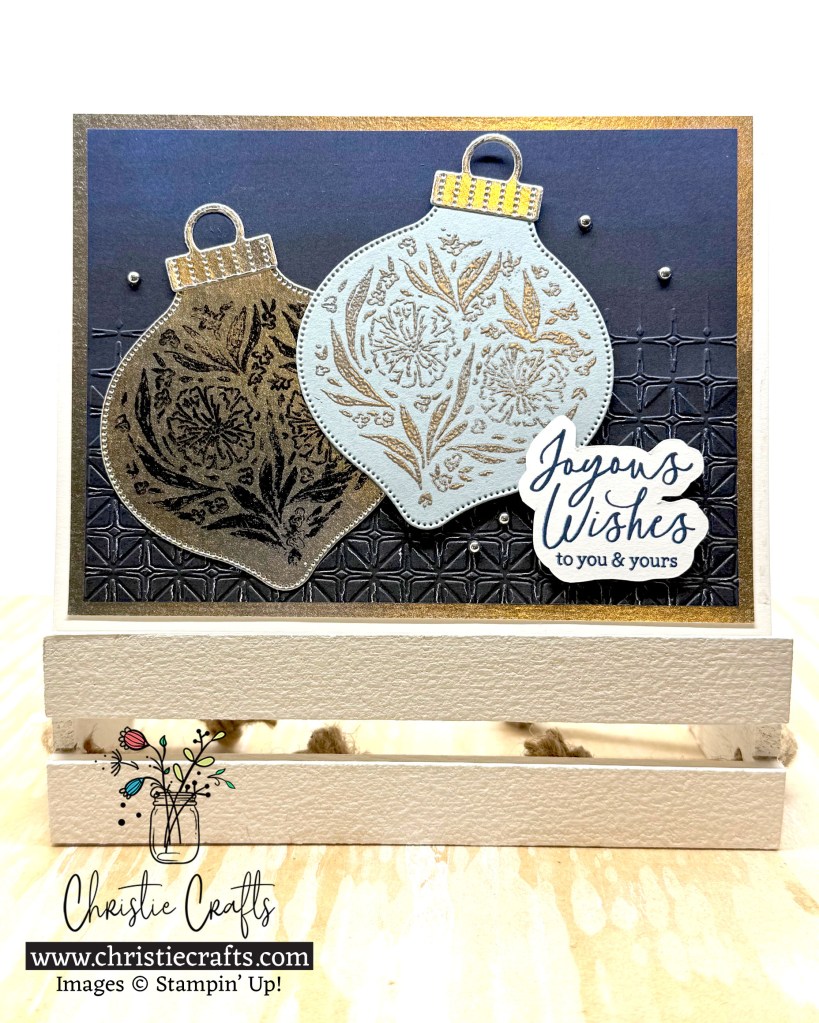
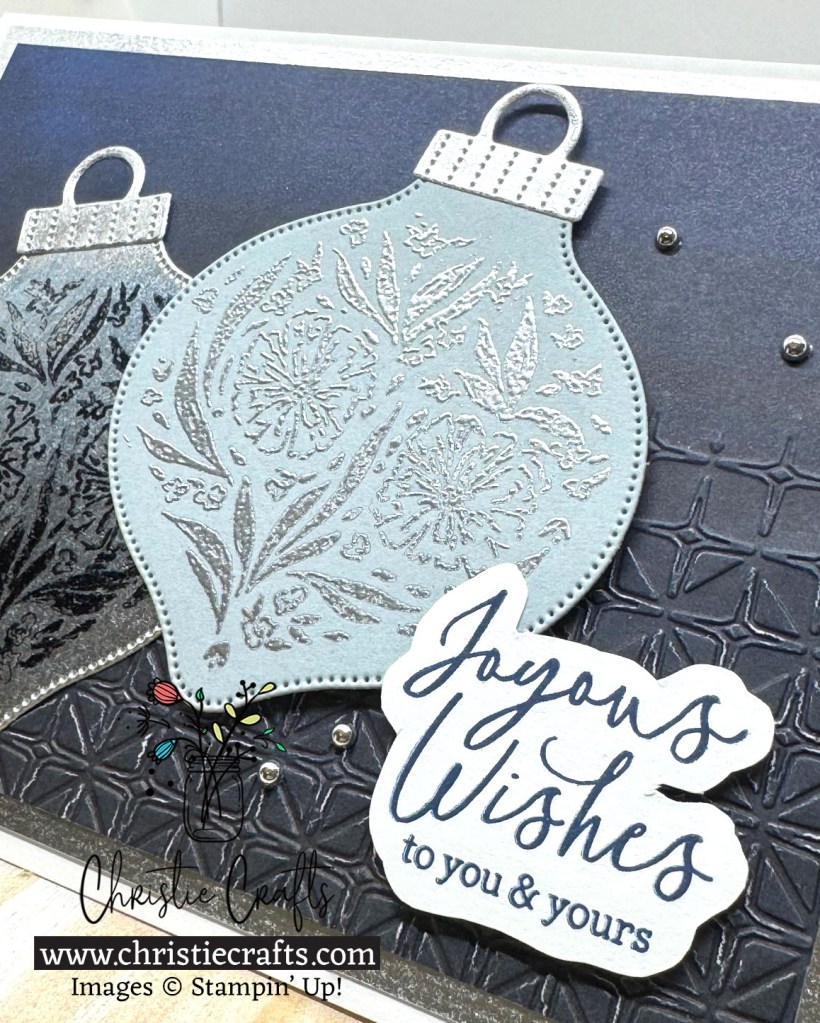
Navy & Silver Foil Card Tutorial: This sophisticated card pairs rich tones with metallic accents for an elevated holiday design. I used a Night of Navy background and added texture with the Glass & Gardens embossing folder. One ornament was die-cut from a Silver Foil sheet and stamped with Stazon ink—essential for slick surfaces. The second, cut from Cloud Cover cardstock, was heat embossed in silver for a frosty finish. I layered both over the embossed panel and added the sentiment “Joyous Wishes to you & yours.” A few silver pearls complete the look, giving the card a clean and elegant shimmer.
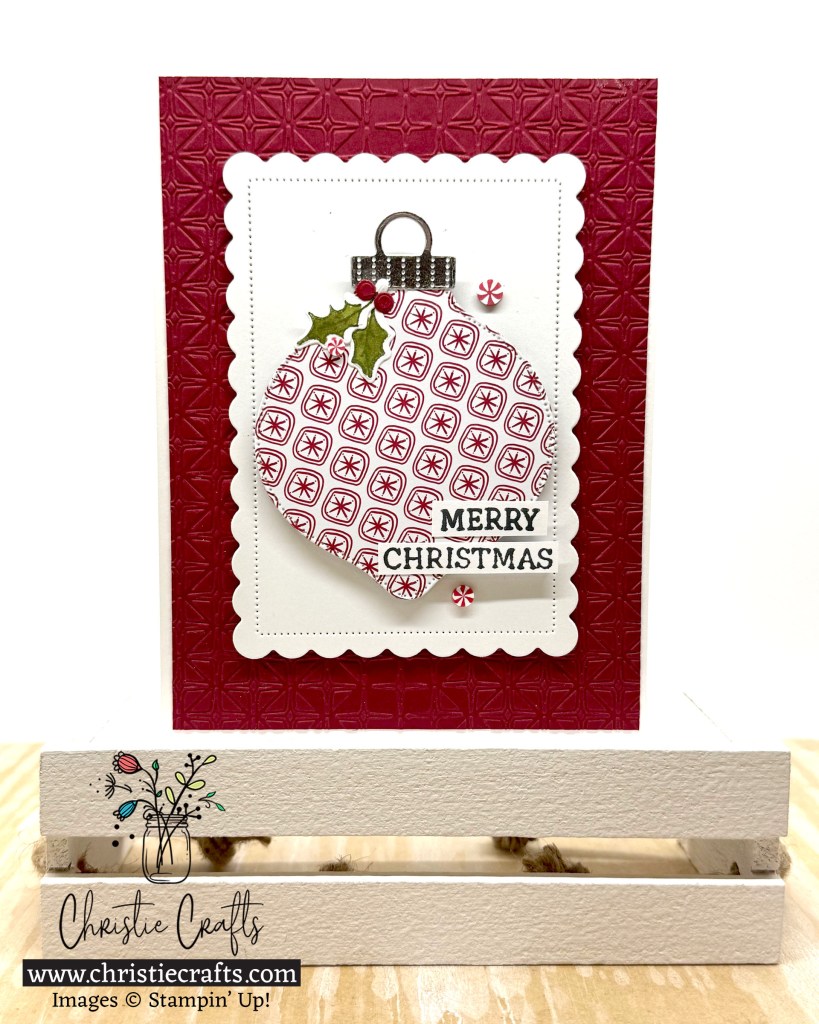

Peppermint Ornament Card Tutorial: This playful card combines classic Christmas colors with a retro twist. I used a Cherry Cobbler card base, embossed with the Glass & Gardens embossing folder for texture. The ornament, die-cut from patterned paper, adds a fun and festive vibe—perfect for using scraps from your stash! It’s topped with a Silver Foil cap and holly embellishment. I layered it over a scalloped, stitched white rectangle, then added a bold “Merry Christmas” sentiment. Adhesive-backed Peppermint Embellishments add a sweet final touch to this cheerful design.
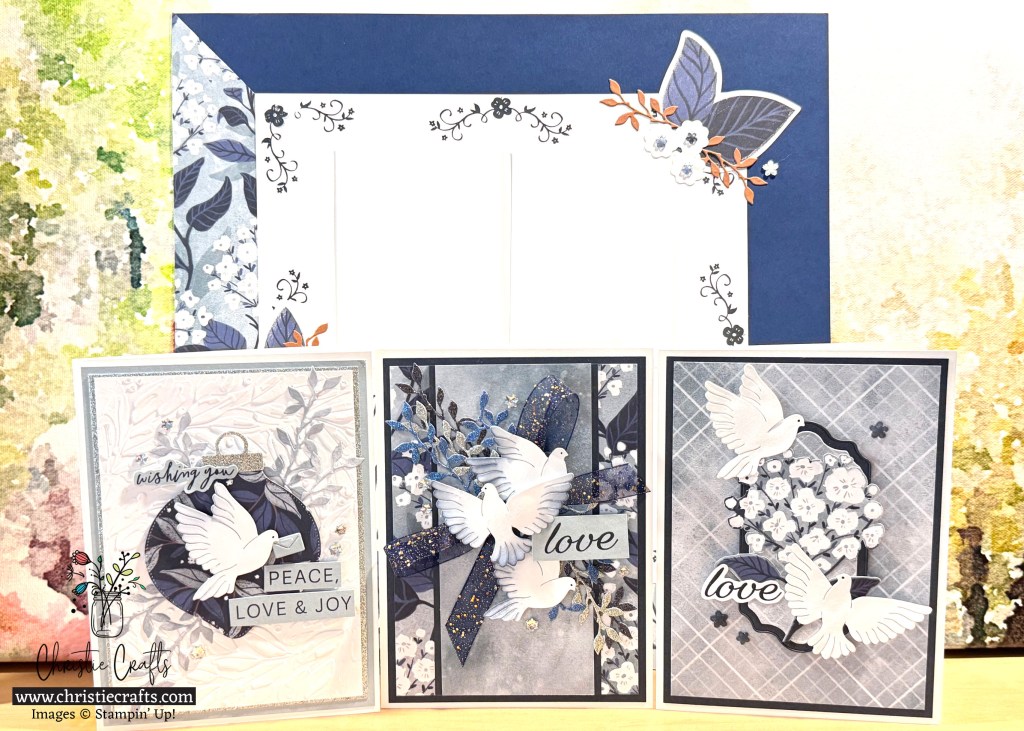
Bauble Blooms Scrapbook Layout
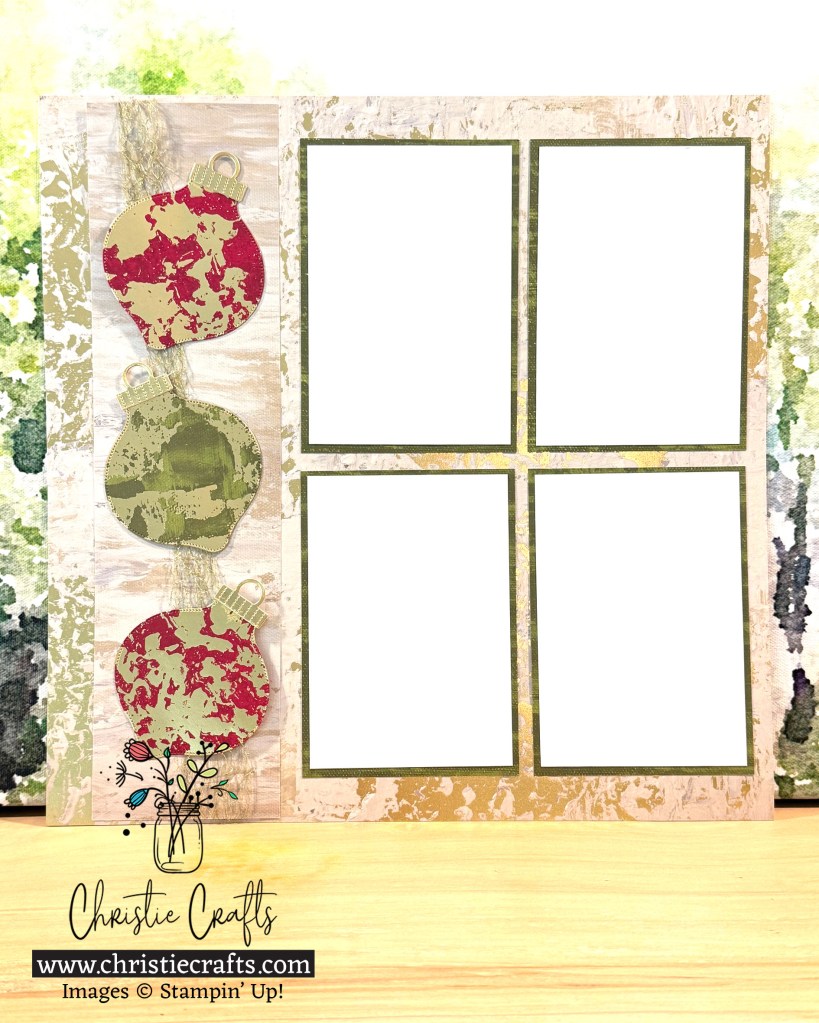
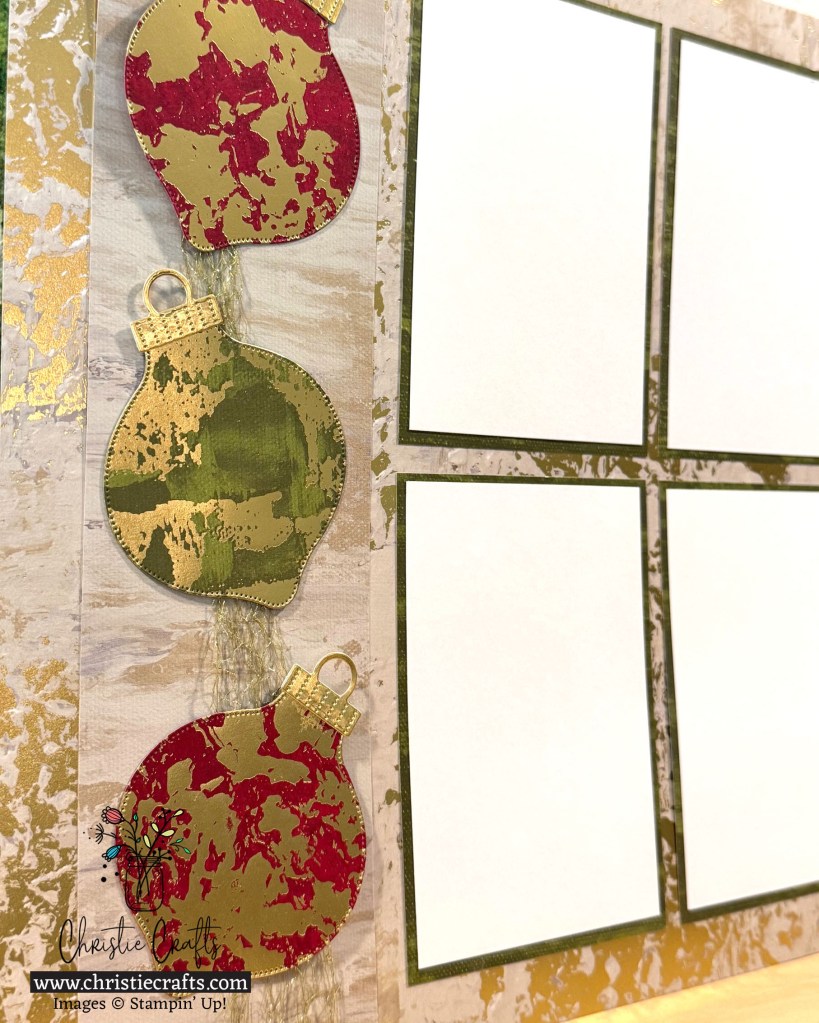
Tutorial: This scrapbook layout is ready to showcase your favorite holiday memories! I used a painterly background from the Season of Elegance Specialty Designer Series Paper and added four photo spots matted with Mossy Meadow in a clean grid for balance. Along the left side, I layered three bold ornaments die-cut from coordinating DSP over strands of Gold Open Weave Trim, then topped them with Gold Foil caps for extra shine. This layout comes together quickly and leaves plenty of room for journaling or photos—perfect for capturing a tree-trimming party, Christmas morning, or any festive celebration.
Thanks so much for stopping by and sharing a little crafty cheer with me! If you have any questions about these projects—or paper crafting in general—I’m always happy to help. Drop a comment below or send me a note at christie.king@gmail.com. I’d love to hear from you!
If you create something inspired by these projects, please share—I’d be excited to see your take on it! 💌
And hey—don’t forget to SUBSCRIBE to my weekly newsletter for more crafty goodness delivered straight to your inbox: tutorials, tips, behind-the-scenes peeks, and first looks at upcoming projects.
Until next time, keep those scissors snippin’ and your creativity flowing. Happy crafting, friends!
Do you love paper crafting as much as I do? Whether you’re knee-deep in cardstock every weekend or just getting started, joining Stampin’ Up! as a Demonstrator might be the best next step. I joined for the discount—and stayed for the friendships, inspiration, and fun! ❤
Join Us!
Once you join, you’ll get at least a 20% discount on all of your Stampin’ Up! purchases, invitations to Demonstrator only events, and the ability to place orders from upcoming catalogs and promotions in advance!
We welcome all types of Demonstrators from those only join to get the discount for themselves to those who want to run a business! We’re a relaxed group that loves to create with no pressure to sell!
There is absolutely never any obligation or penalty if you decide being a Demonstrator isn’t for you—so why not give it a try? We have fun Facebook groups where we chat, share creative ideas, and support one another. Plus, we host virtual gatherings, training sessions, and even offer occasional giveaways just for our team. It’s a welcoming space full of inspiration and encouragement!
Email me christie.king@gmail.com if you have any questions. You can also see more information about the benefits of becoming a Stampin’ Up! Demonstrator HERE.


Leave a comment