


If you’ve been looking for a way to add a little extra wow to your handmade cards, the Flourish & Frames Bundle is going to steal your heart! This beautiful new bundle pairs elegant floral stamps, graceful greenery, a delicate little bee, and gorgeous hot foil frames that add brilliant metallic shine to every project.


The card I’m showcasing today is proof that sometimes simple colors make the biggest impact. Black, white, gold, and a touch of Old Olive create a timeless thank-you card that’s perfect for so many occasions.
The real stars of this project are the gold-foiled frames and sentiment; all created with the new Stampin’ Hot Foil System. It adds a brilliant metallic shine that catches the light beautifully and turns an ordinary card into something truly special. I also used the coordinating bee and leafy images from the stamp set to tie everything together into one elegant design.

Frames and Flourished Bee Thank You Card Step by Step
1. Create the card base. Start with a 9″ × 6″ Basic White cardstock base and score the long side at 4-1/2″ to create a standard A6 card. Add a 4-1/4″ × 5-3/4″ Basic Black cardstock mat.
2. Stamp the background. Stamp the leafy flourish image repeatedly in Old Olive ink on a 4″ × 5-1/2″ Basic White panel. Adhere the stamped panel to the Basic Black mat.
3. Hot foil the frames. Use the Flourish & Frames Hot Foil Dies, Gold Stampin’ Hot Foil, and the Stampin’ Hot Foil System to foil the decorative frames onto Basic Black cardstock. (You will also need the Stampin’ Cut & Emboss Machine.)
4. Hot foil the sentiment. Use the Classic Greetings Hot Foil Dies, Gold Stampin’ Hot Foil, and the Stampin’ Hot Foil System to create the “Thank You” sentiment on Basic Black cardstock.
5. Die cut the foiled pieces. Once the foiled cardstock has completely cooled, die cut the foiled frames and sentiment. Adhere the largest black frame to the stamped background using Stampin’ Dimensionals.
6. Create the inner focal layer. Die cut the coordinating Basic White frame using the Flourish & Frames Dies. Stamp the leafy flourish image in Old Olive ink onto the die-cut piece, then adhere it to the center of the large black foiled frame.
7. Create the bee. Stamp the bee image in black ink on Basic White cardstock. Color the bee with Daffodil Delight and Old Olive Stampin’ Blends, then cut it out using the coordinating die.
8. Assemble the focal point. Adhere the smaller foiled frame over the stamped white frame using Stampin’ Dimensionals, then attach the bee to the center with additional Dimensionals.
9. Finish the card. Adhere the hot-foiled “Thank You” sentiment near the bottom of the card using Stampin’ Dimensionals.

If you’re just getting started with hot foiling, the Stampin’ Hot Foil System makes it surprisingly easy to create stunning metallic accents right from your craft room. Watch the quick reel below from my Christie Crafts YouTube channel to see just how easy the system is to use. And for a limited time, every Hot Foil System purchase also includes access to the Metallic Magic Craft Class, packed with techniques and inspiration to help you get the most from your new system.

No matter what kind of paper crafting project you’re creating, adding a touch of elegance has never been easier. I think you’re going to have so much fun with the Stampin’ Hot Foil System and the Flourish & Frames Bundle!
Thanks so much for stopping by Christie Crafts! I hope you enjoyed today’s project and found a little inspiration to create something beautiful. If you have any questions about the products or techniques I used, feel free to email me at christie.king@gmail.com or leave a comment below. For more inspiration, project ideas, tutorials and the latest Stampin’ Up! news, be sure to subscribe to my blog and Christie Crafts weekly newsletter at ChristieCrafts.com. As always, thanks so much for stopping by today! Happy Crafting!

Do you love paper crafting as much as I do?
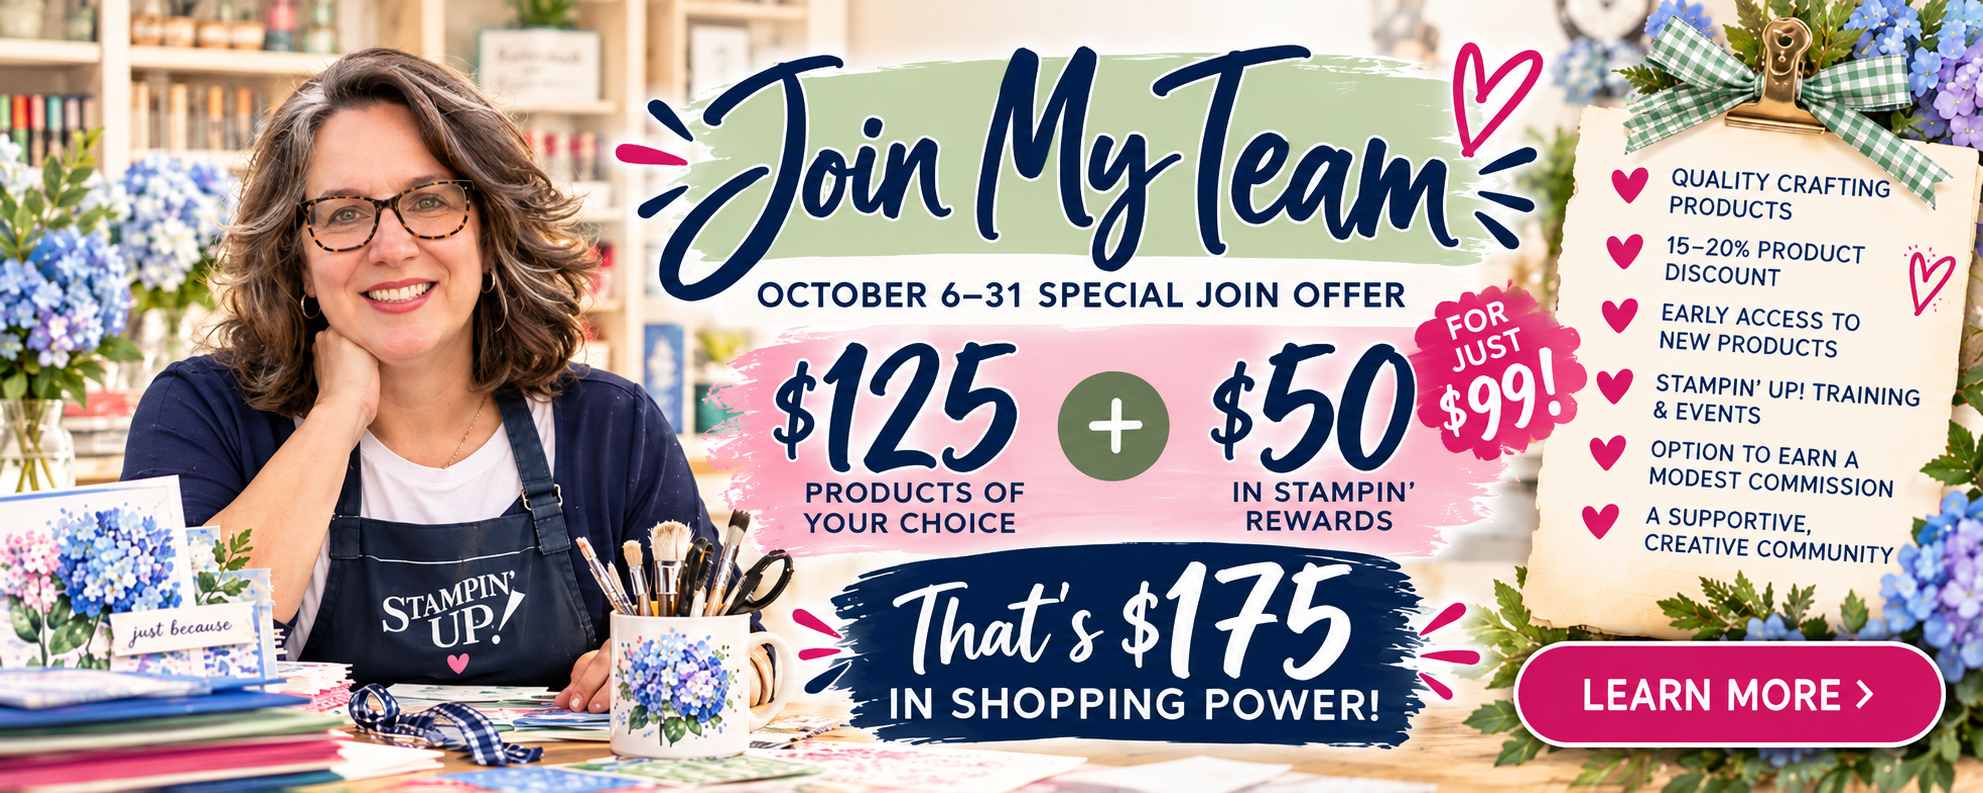
Whether you’re knee-deep in cardstock every weekend or just getting started, joining Stampin’ Up! as a Demonstrator might be the best next step. I joined for the discount and stayed for the friendships, inspiration, and fun! ❤
JOIN US!
Once you join, you’ll get at least a 20% discount on all of your Stampin’ Up! purchases, invitations to Demonstrator only events, and the ability to place orders from upcoming catalogs and promotions in advance!
We welcome all types of Demonstrators from those only join to get the discount for themselves to those who want to run a business! We’re a relaxed group that loves to create with no pressure to sell!
There is absolutely never any obligation or penalty if you decide being a Demonstrator isn’t for you. So why not give it a try? We have fun Facebook groups where we chat, share creative ideas, and support one another. Plus, we host virtual gatherings, training sessions, and even offer occasional giveaways just for our team. It’s a welcoming space full of inspiration and encouragement!
Email me christie.king@gmail.com if you have any questions. You can also see more information about the benefits of becoming a Stampin’ Up! Demonstrator HERE.

Share this:

Discover more from Christie Crafts
Subscribe to get the latest posts sent to your email.
Stunning cards! the layering and foiling are just perfect!! 🙂